TLDR: A continuation of my Castle Grayskull / GM screen project. The first part can be read here: Project Grayskull Part 1 - In the Raw
Here's a quick look at my first ideas for the project, from a journal I was keeping at the time. This was probably drawn around November 2020. It's a pretty solid beginning though it's clear I don't know what to do with the left half other than "storage." I was mostly thinking about the dice tower and lighting components.

My initial idea for the dice tower involved a bendy, corrugated hose, like one might find on a shop vac. Turns out those are kind of pricey and I was better off with just common PVC anyway. (I used black PVC so I didn't have to paint it, but more about the dice tower -- and my mistakes -- in a future post.)
I didn't want a plug-dependency, so from the beginning I was thinking of LED lights that could be run off a USB power bank or battery pack. From there, my notions were pretty vague about what else I might want, but some earlier mock ups of cardboard shelves told me that I had room for either full-sized books or digest books and a shelf on the left hand side of the open screen. See pics below.
I opted for digest-sized books, partly because the weight of multiple full-sized books seemed impractical and because I could pack more into the build if I stuck with zine-sized books. I thought about a removable shelf on the left, but given the really curvy nature of the interior, I was afraid it wouldn't stay put if I didn't glue it in.


I mocked up these cardboard shelves in multiple stages. I didn't have one of those flexible rulers that will hold a shape, so I just kind of worked with paper and guesses until I got it right. I have sense found some images of the shelves online and think I might have used those to trace, but I would have had to scale them up to the right size before printing.
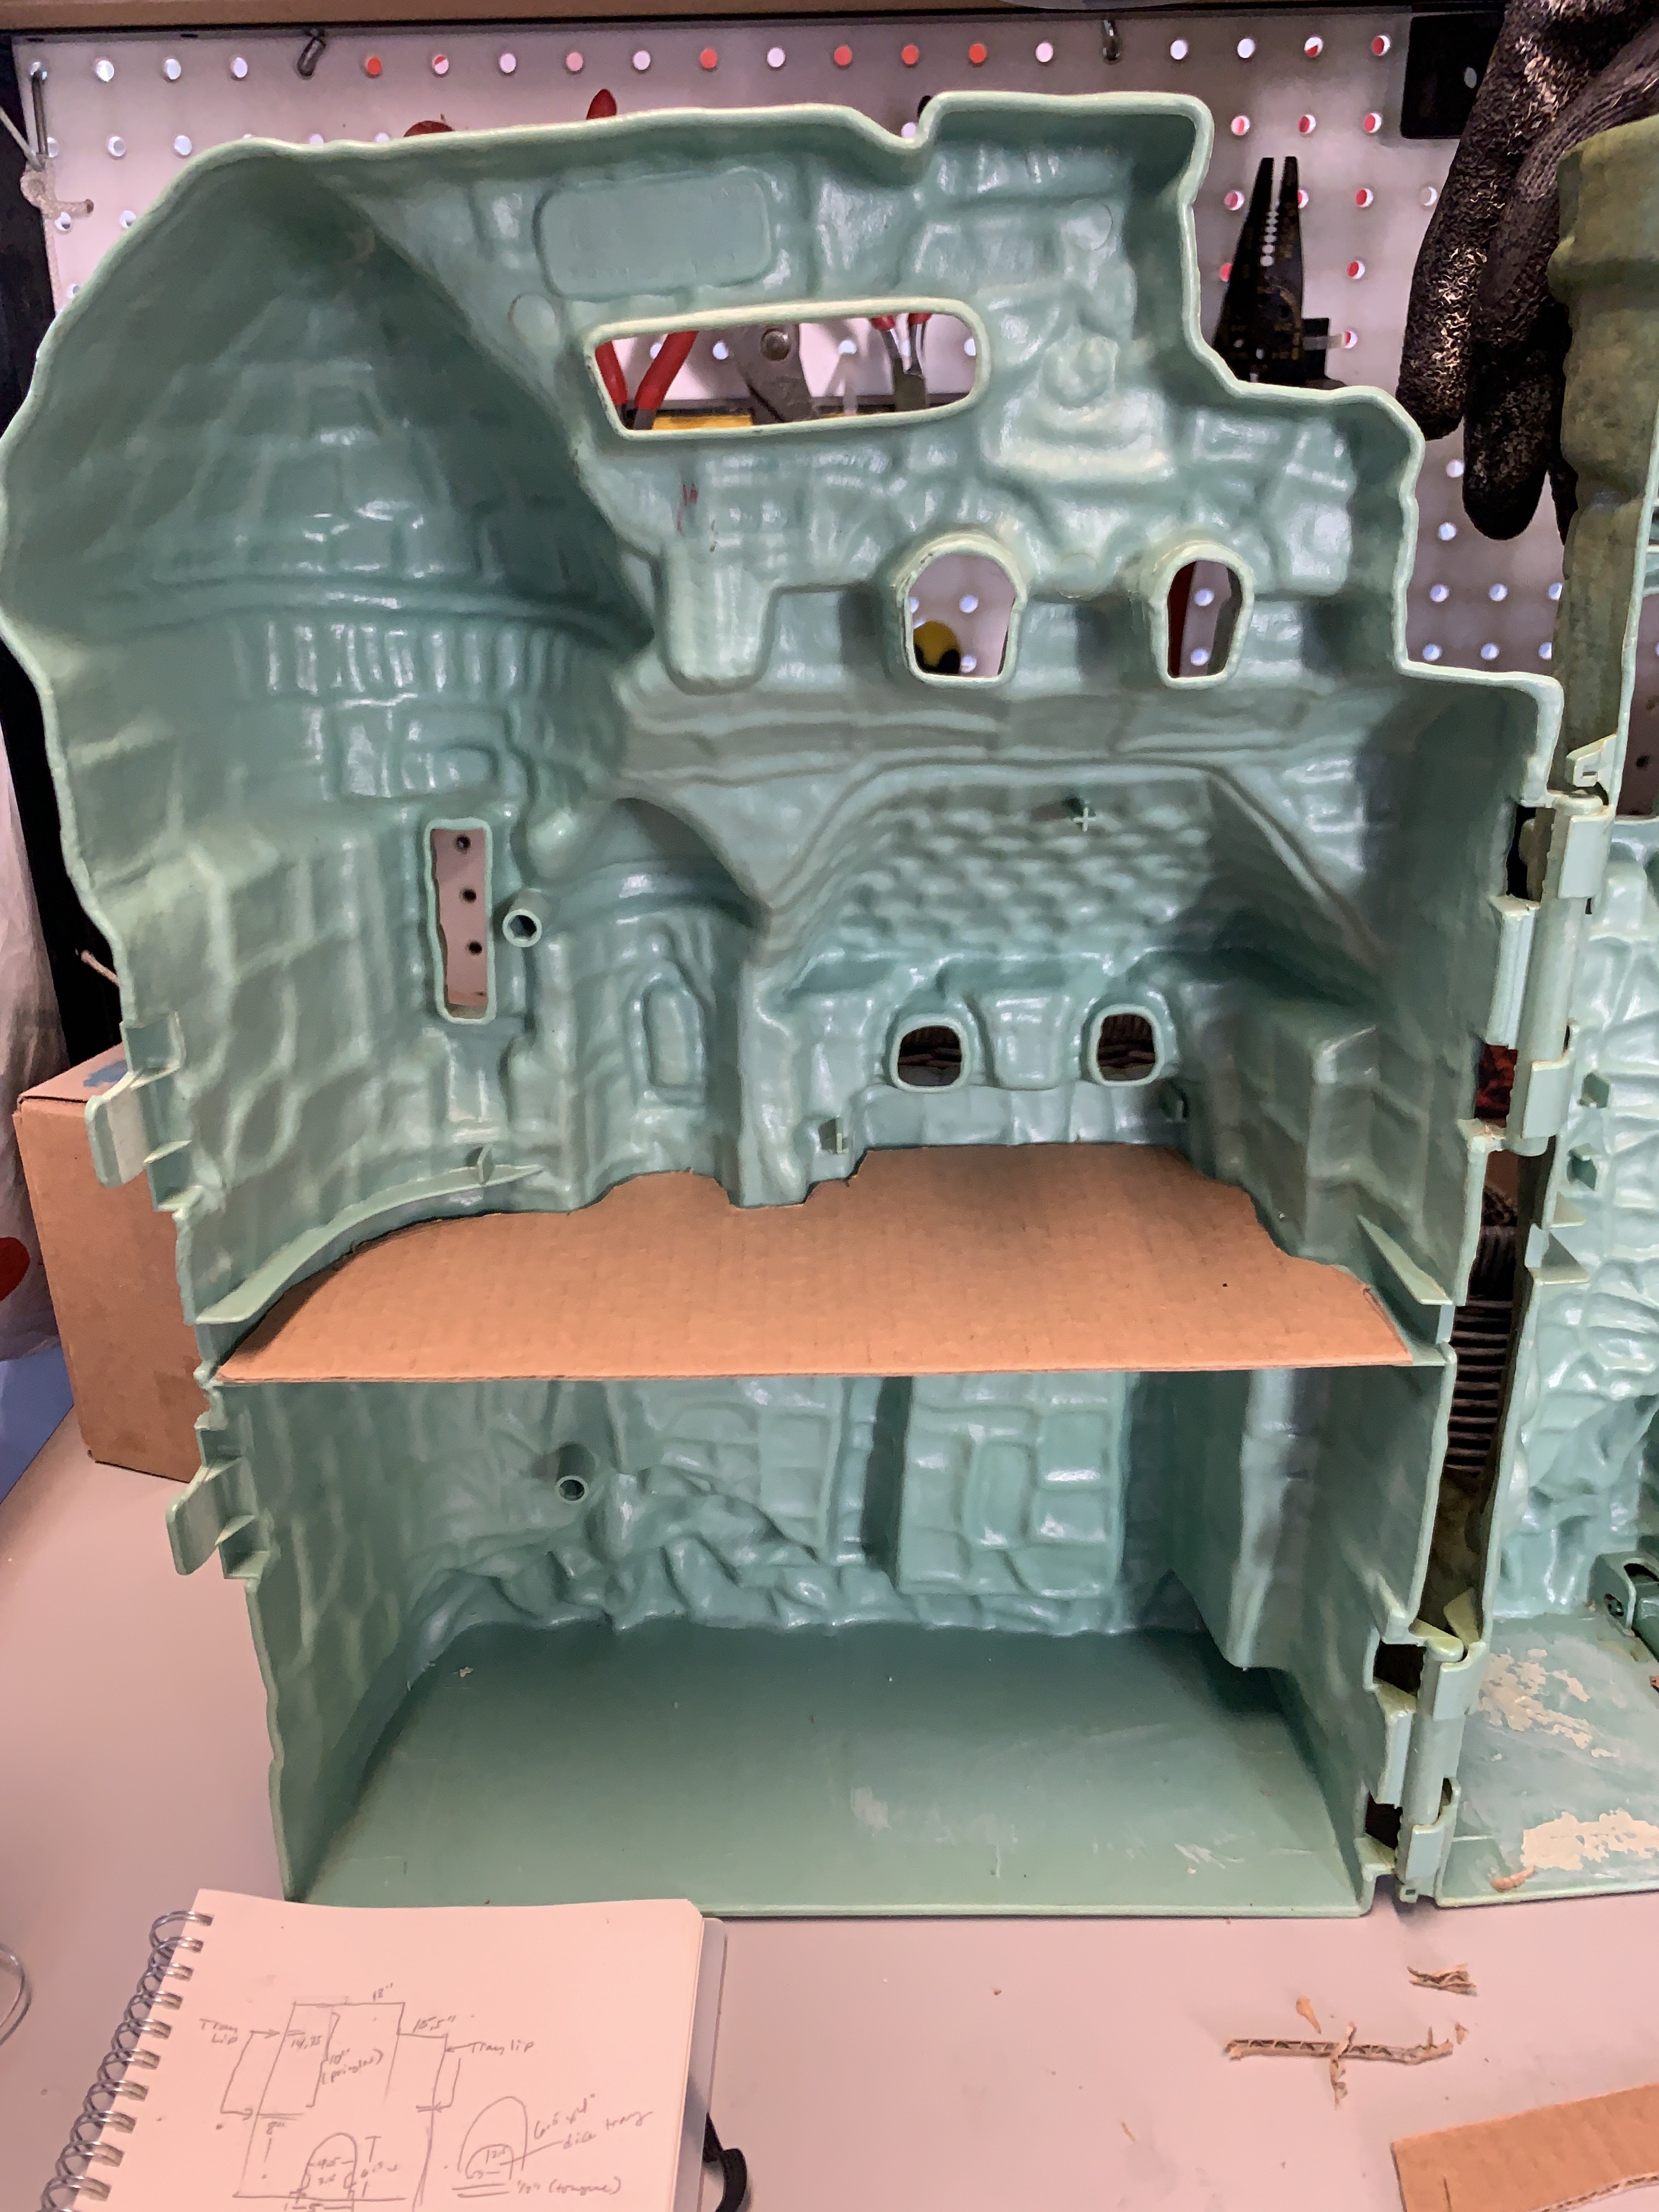
At this point I took my first scary, irreversible step and drilled holes for the light-up gem-eyes. I drilled them at 1.75 inches in diameter. I was really afraid that the bit would catch and make a crack in the case but that didn't happen. If it had, I supposed I would have repaired it with green stuff.

Next up - painting and lights (attempt #1)!
No comments:
Post a Comment
Comments are moderated; please be patient.